How To Add Open Captions To Your Video
Learn how to automatically add open captions to your video in minutes using Recast Studio.
May 24, 2021
As the video content creation space grows, you need to keep your content competitive you must continually iterate and improve while keeping your audience’s needs top-of-mind.Almost 85% of video on social media is consumed without audio. If your video has someone talking or narrating something, then most of the users would just scroll past your video. Adding open captions increases the chances of engagement, even for muted videos.
Why Use Open Captions Instead Of Closed Captions?
Closed captions are great but they have certain limitations.
YouTube and Facebook have subtitles but Some platforms, like Twitter, LinkedIn, and IGTV, don’t have closed caption support.
By default, closed captions are off. The user requires to enable the feature to view the caption on the screen.
You cannot control the styling & the position of your closed captions it looks different depending on the platform.
All You Need To Know About Open Captions Vs Closed Captions >
In this article, you will learn how to add open captions to your video using Recast Studio in an easy way.If you would like to watch the entire tutorial, check out this YouTube video below.
Step #1. Choose the right format
In this step, you need to select the output format for your project (the final video that you will download after adding the open captions).
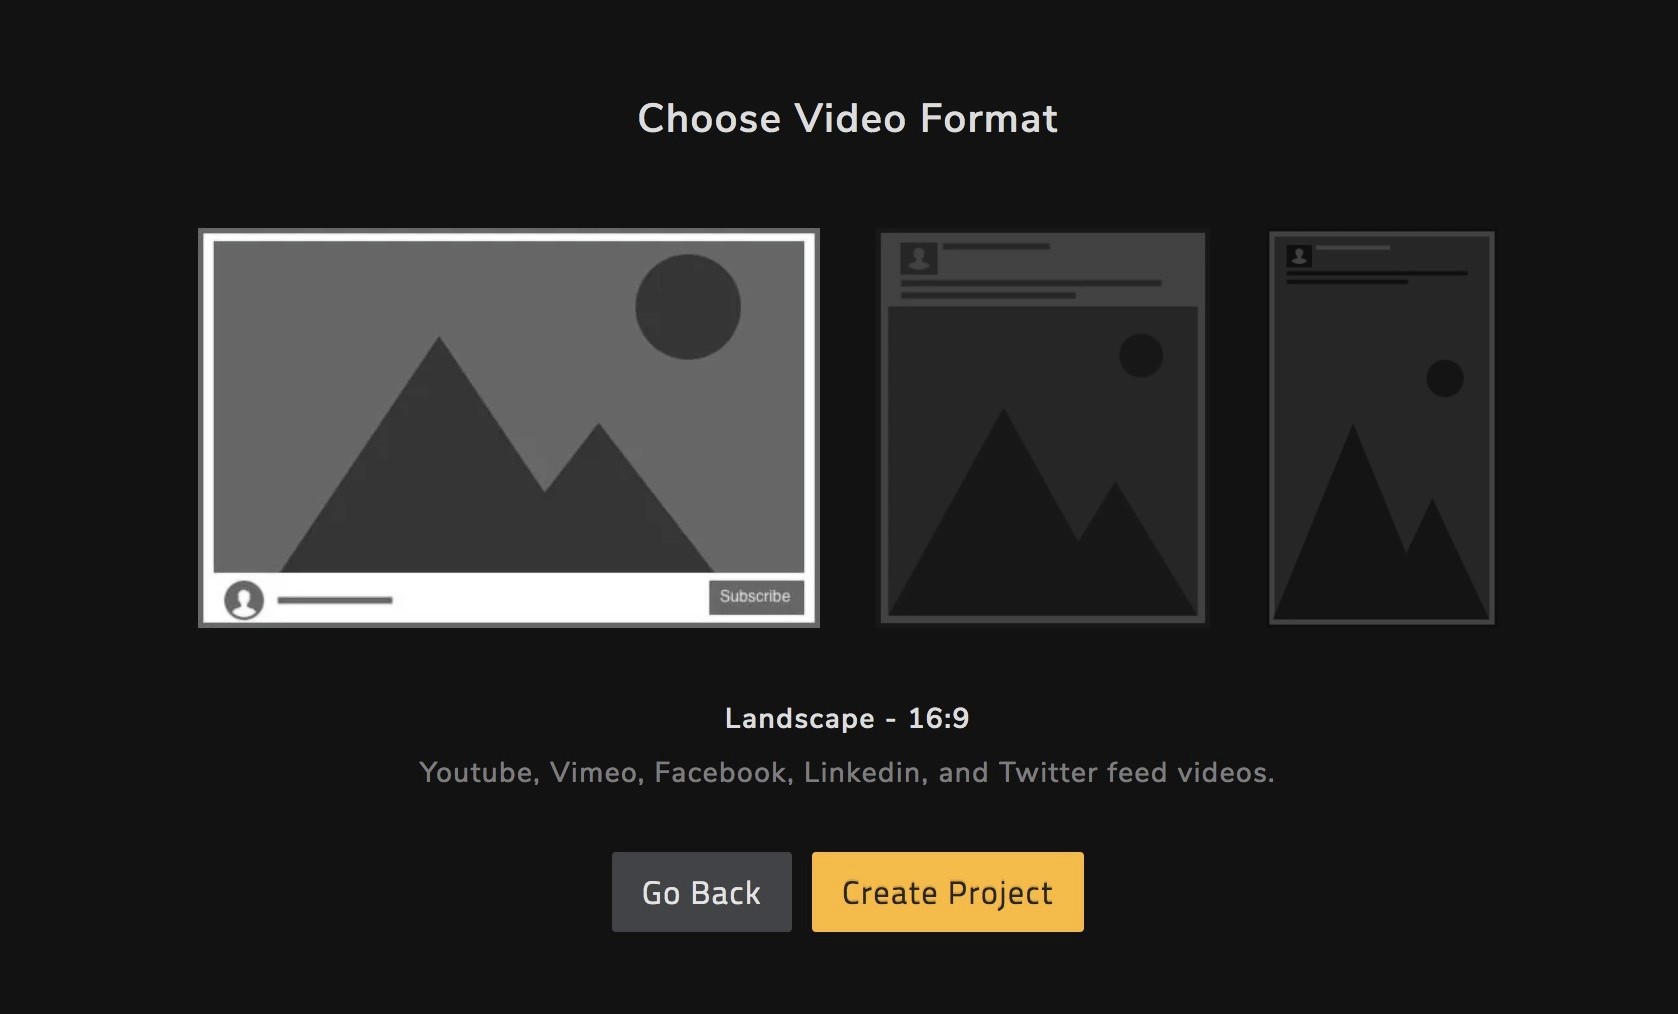
There are mainly 3 types of widely used video formats.
Landscape — 16:9 best for Youtube, Vimeo, Facebook, Linkedin, and Twitter feed videos.
Square — 1:1 best for Facebook feed, carousel ad, Instagram, Linkedin, and Twitter feed videos.
Portrait — 9:16 Instagram story, IGTV, Snapchat, and Facebook story
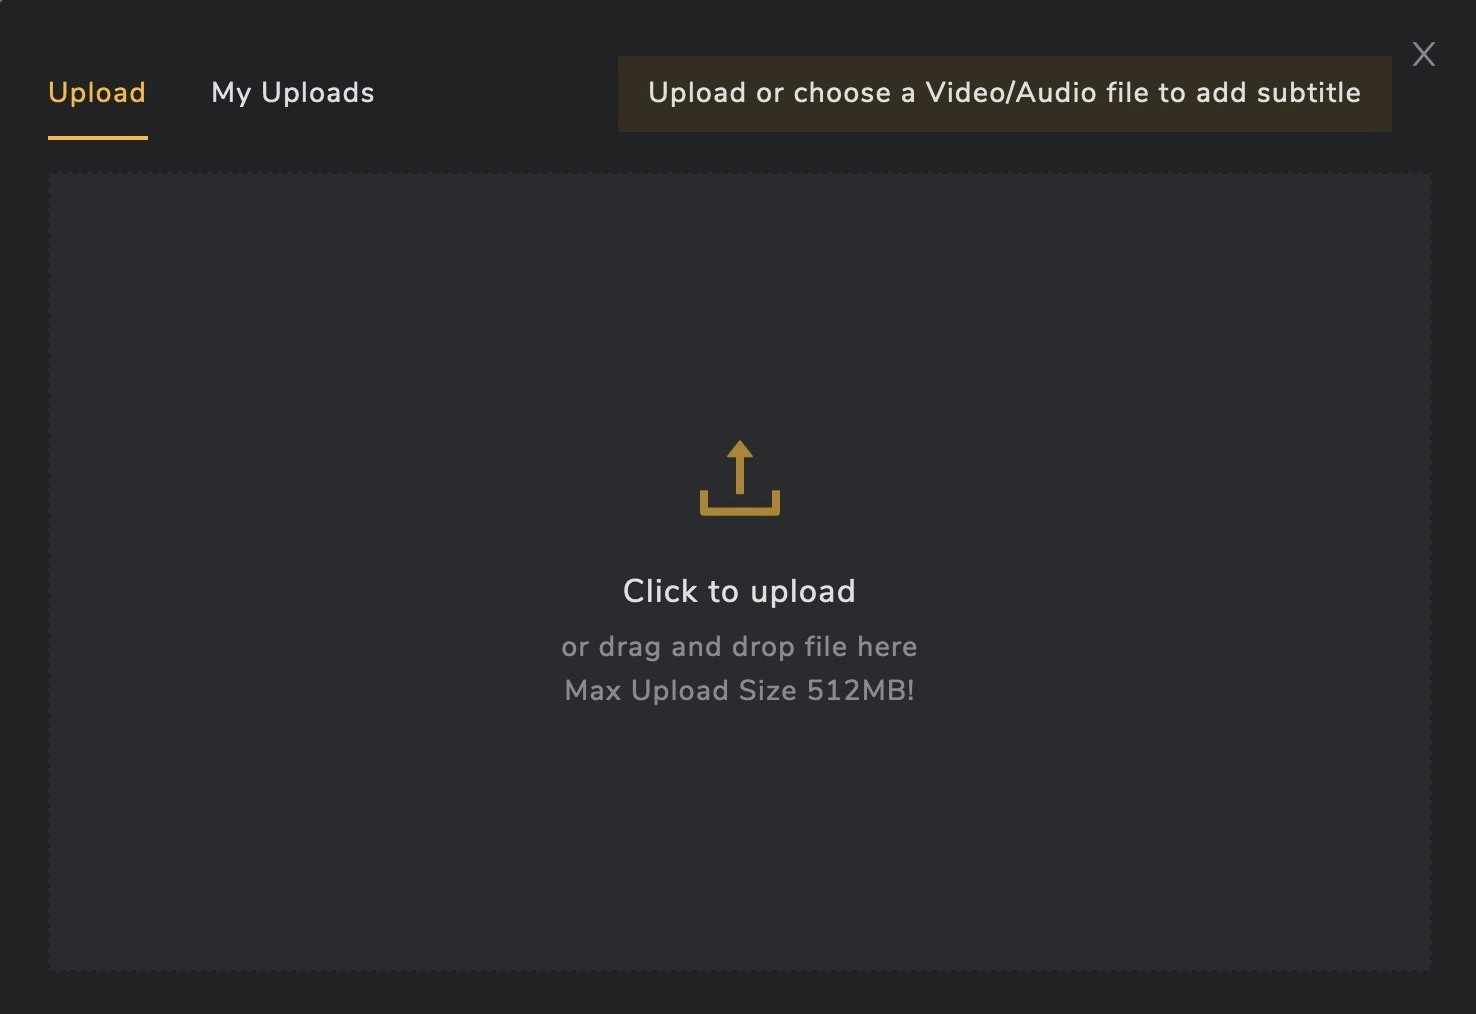
Step #2. Upload your video
As soon as you land on the editor screen a popup will appear where you can upload the video you want to add open captions to. You can upload a video directly from your computer just drag & drop It’s super easy.
Step #3. Choose the captioning method
As soon as your video gets uploaded a popup will appear asking how you want to add captions video.
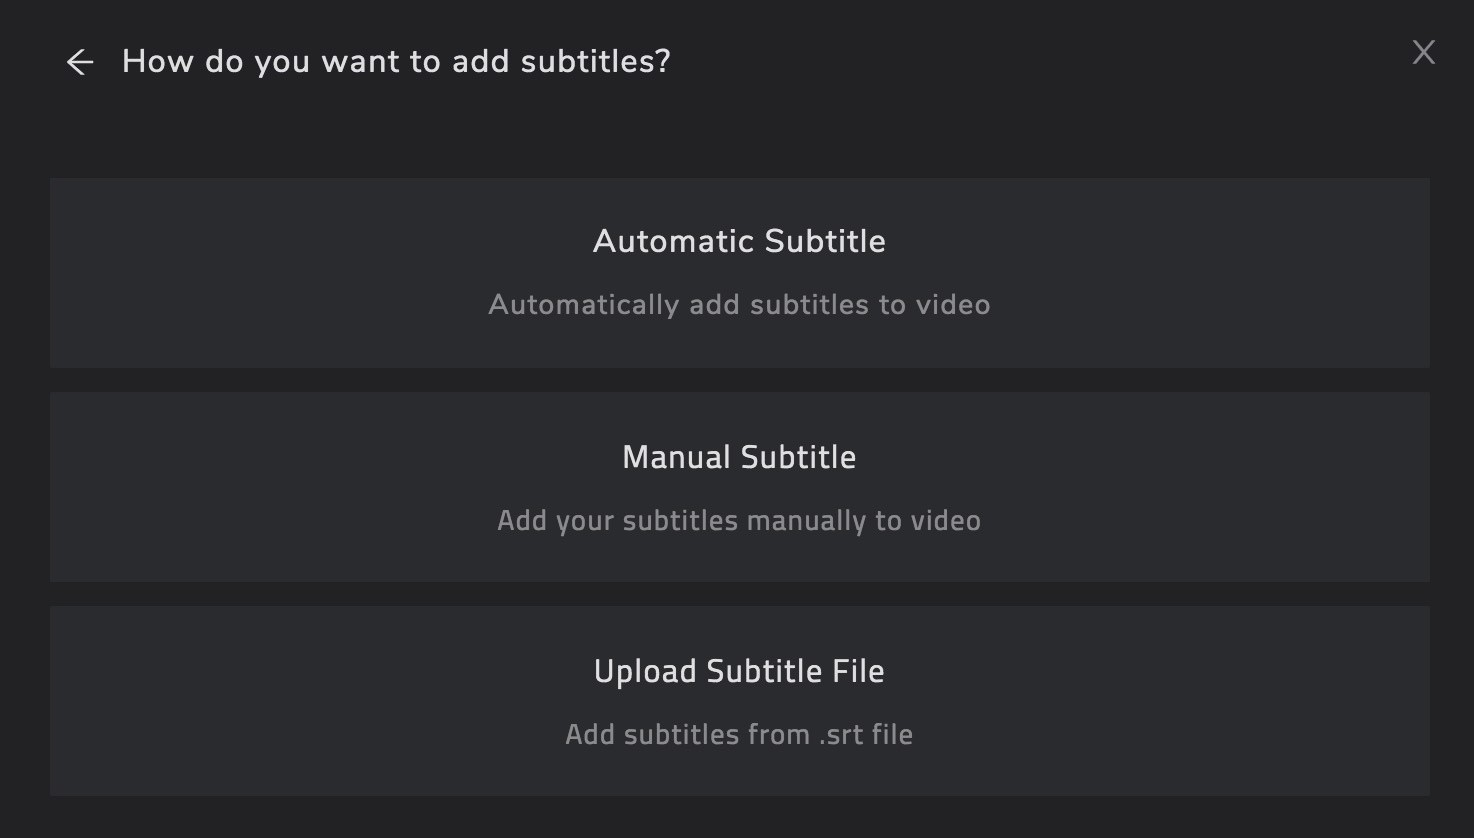
There are 3 ways you can add captions to your video.
Automatic: Recast Studio will automatically generate captions for the video’s audio using AI and embeds the text directly into the MP4. You need to subscribe to a paid plan to use this feature. Check the pricing of all plans
Manual: You can manually add, edit & change the timing of captions.
Upload SRT: If you already have a “.srt” file of your video’s audio you can upload it to Recast Studio and it will be embedded into the video automatically.
After choosing one of these options you will be redirected to a new screen where you can preview & edit your captions.
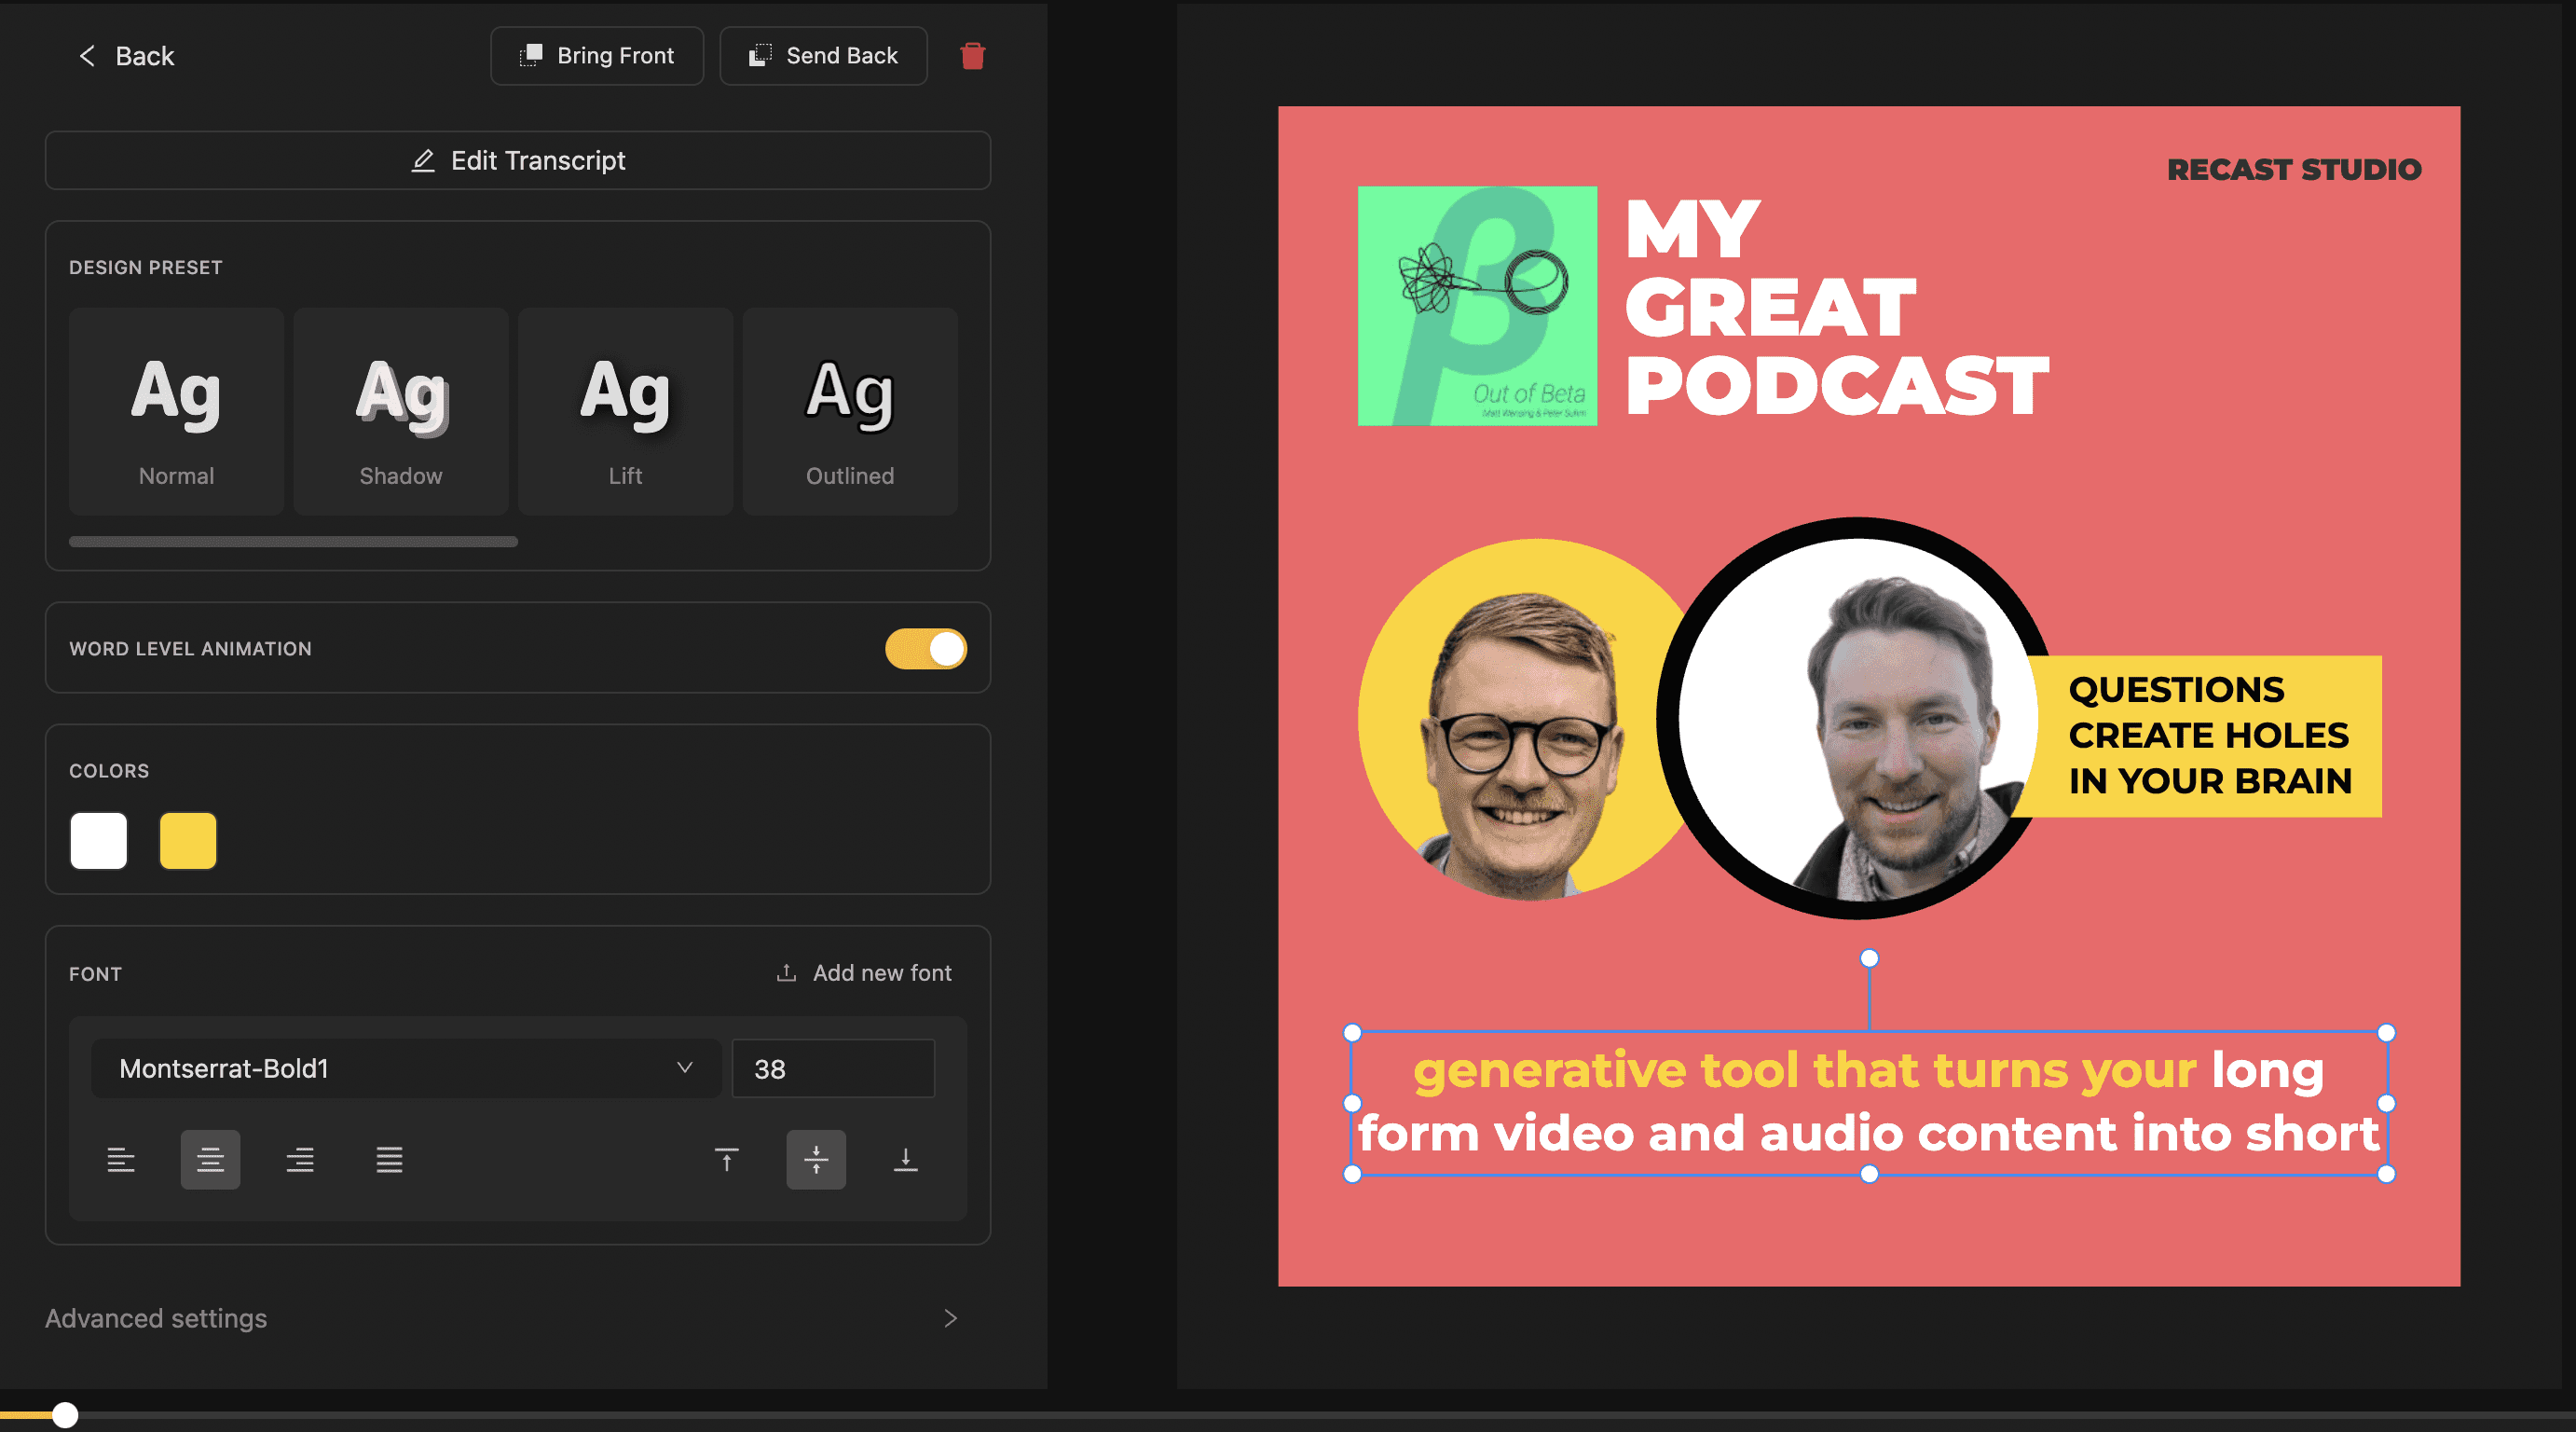
Step #4. Edit styling, Preview, and Download
On this screen, you can customize everything in your caption.
You can change the font family, size, alignment, colour, and a lot more. You can select the caption element within the canvas and drag it to change its position. You can adjust the timing of each caption using a very intuitive timeline. You add, edit, and delete the caption text from the left sidebar.
Once you have arranged the captions, preview your whole video once again. If everything’s the way you want, then click on Download. You will receive an email with a download link within a few minutes. Download the MP4 directly to publish on social media.
By adding captions to your video. You can broaden your reach, ensure accessibility, provide learning resources for non-native speakers, boost SEO, and make content more engaging and memorable.
The Recast Studio’s “Caption Video” tool is the easiest way to add captions on shorter social media videos. You don’t have to worry about complex file formats or technical encoding.
Latest articles

Ai Powered
Marketing Assistant for Your Podcast
A generative AI tool that automatically turns your podcast episode into short video clips & writes show notes, blog posts, social media posts and more in minutes.