How to record audio on iphone
Learn how to record audio on iPhone with our step-by-step guide. Discover tips for sharing recordings, and achieving the best sound quality.
24 giu 2024
Have you ever found yourself in a situation where you needed to quickly record audio on iPhone? With a recorder right in your pocket, capturing important moments, whether it's:
A Fleeting idea,
Business meeting, or
A lecture becomes effortless.
The convenience and immediacy of having a high-quality audio recorder built into your phone are unparalleled.
For instance, consider the rise in impromptu podcasting, which has seen exponential growth in recent years. As of May 2024, there are over 4.18 million podcasts and the number of podcast listeners is expected to reach over 500 million by the end of 2024.
This surge is a testament to how essential recording tools have become in our everyday lives. From journalists capturing interviews in the field to students recording lectures, the ability to record high-quality audio easily and efficiently has never been more important.
However, the question remains the same. Can you record audio on iPhone? Let’s find out.
Can you record audio on an iPhone?
Absolutely, you can record audio on iPhone, and it’s a straightforward process thanks to the built-in Voice Memos app. Whether you need to capture a quick thought, record a lecture, or save a song idea, your iPhone has all the necessary tools.
You heard correctly. How else could the 58.81% of Americans who own iPhones frequently record audio?
The Voice Memos app is a powerful utility that comes pre-installed on all iPhones. It offers a user-friendly interface. As a result, it allows you to record audio on iPhone with just a tap of a button. Moreover, this app is perfect for a wide range of uses, from simple voice notes to more professional audio recordings.
Additionally, the iPhone’s advanced microphone technology ensures that your recordings are clear and high-quality. You can also edit your recordings directly within the app, making it easy to trim, enhance, and organize your audio files.
Therefore, whether you're a student, journalist, or musician, recording audio on iPhone is both convenient and efficient. Let’s now learn how to voice record on iPhone.
How to Record Audio on iPhone with Voice Memos
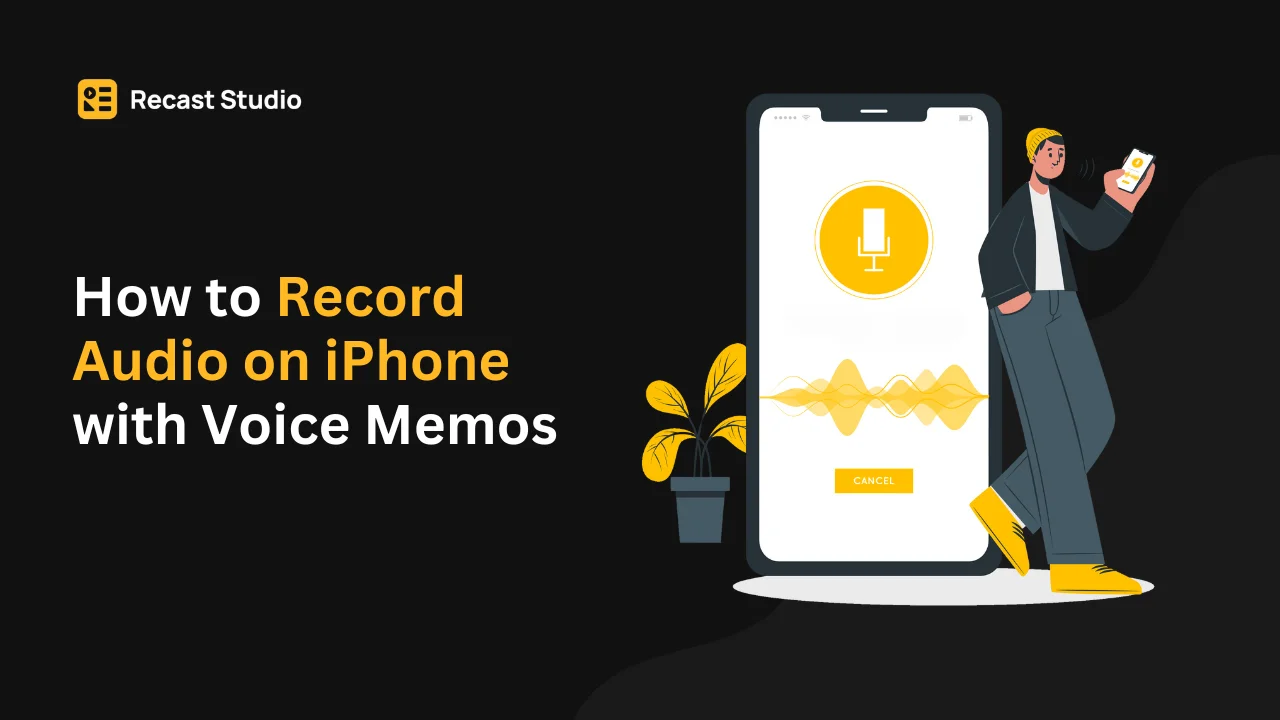
Using the Voice Memos app to record audio on iPhone is a simple process that ensures you can capture important moments with ease. Here's a step-by-step guide to help you get started.
1. Locate and Launch the Voice Memos App
In order to record audio on iPhone, begin by locating the Voice Memos app. This sound recorder iPhone comes pre-installed, so you don’t need to download anything else. You can find it by swiping it down on your home screen and typing "Voice Memos" into the search bar. Once you see the app icon, tap to launch it.
2. Position Your iPhone Correctly
Secondly, proper positioning is crucial to effectively record audio on iPhone. Hold your device with the microphone (located at the bottom of the phone) directed towards the sound source. As a result, this ensures that you pick up the best possible sound quality.
Additionally, If you're recording a conversation or an interview, place the phone between you and the other person. For lectures or concerts, point the microphone towards the speaker or stage.
3. Tap the Red Record Button
With the Voice Memos app open and your iPhone correctly positioned, you're ready to record audio on iPhone. Tap the large red circle at the bottom of the screen to begin. Once you tap, the red button will change into a red square, indicating that the recording is in progress.
4. Record Your Audio
As you record audio on iPhone, try to minimize background noise and hold the phone steady. Speak clearly and directly towards the microphone to record sound on iPhone.
Additionally, if you're recording external sounds, make sure the microphone is as close as possible to the source.
5. Pause or Stop the Recording
You can pause the recording at any time by tapping the red square button, which will change into a pause icon. To resume recording, tap the red button again. When you’re finished, tap the red square button to stop the recording. The app will automatically save the audio file.
6. Name and Save Your Recording
After stopping the recording, Voice Memos will save it with a default name, usually the location or the date and time. To give it a more descriptive name, tap "Edit" at the bottom of the screen, then tap the default name to type in your own. Once you've renamed it, tap "Done" to save your changes.
7. Access and Edit Your Recorded Audio
Lastly, to access your recordings, simply open the Voice Memos app and scroll through the list of saved files. Tap on any voice recordings on iPhone to play them back.
For editing, tap on the recording, then tap the three dots icon and select "Edit Recording." This allows you to trim, replace, or enhance the audio. Use the editing tools to refine your recording to your liking.
However, in order to give a professional editing touch like adding audiograms or subtitles, you need superior podcasting tools like Recast Studio.
How to Share an Audio Recording on iPhone
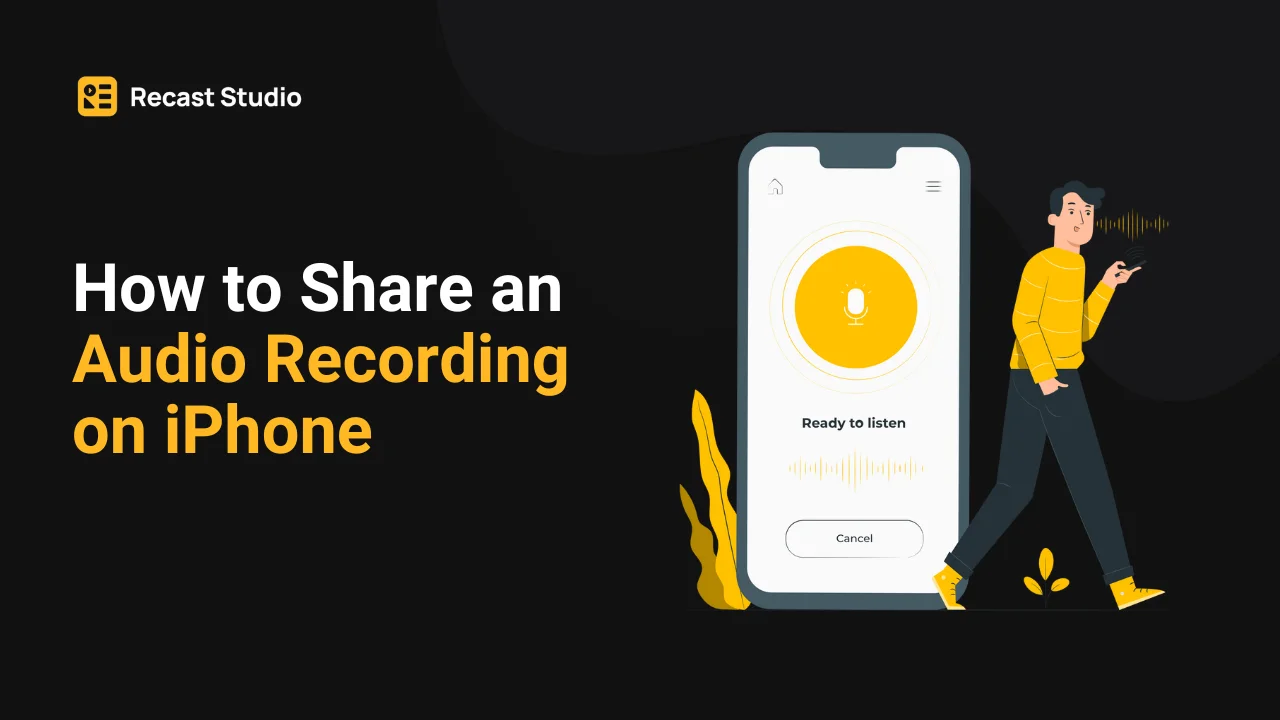
Now you know, it is easy to record audio on iPhone but did you know sharing your audio recordings from your iPhone is even simpler? Follow these steps to share your recordings with others:
Locate the Recorded Audio
First, open the Voice Memos app on your iPhone and locate the audio recording you wish to share. You can scroll through your list of recordings or use the search function to find a specific one.
Tap on the Recording
Once you've found the recording you want to share, tap on it to open the detailed view. Here, you can see playback controls and other options related to the recording.
Tap the Share Button
Look for the share icon, which typically resembles a box with an arrow pointing upward. Tap on this icon to open the recording-sharing options.
Choose Your Sharing Method
After tapping the share icon, a menu will appear displaying various sharing options. You can choose to share the recording via Messages, Mail, AirDrop, or any other compatible app installed on your iPhone. Select the method you prefer.
Complete the Sharing Process
Furthermore, depending on the method you selected, follow the prompts to complete the sharing process. For example, if you choose to share via Messages, you'll select the recipient and then tap "Send."
Verify the Receipt
Once shared, verify that the recipient has successfully received and can access the audio recording. They may need to download the file if it's sent through a messaging app or view it directly if shared via AirDrop.
The Best Way to Record High-Quality Audio
Recording high-quality audio involves several factors that contribute to clarity, depth, and overall fidelity. Whether you're capturing interviews, lectures, or music, following these guidelines will help you achieve the best results:
Choose the Right Location
Selecting a quiet environment with minimal background noise is crucial to effectively record audio on iPhone. Avoid spaces with echoes or ambient sounds that can interfere with your recording.
Moreover, if possible, use a room with soft furnishings or consider using soundproofing materials to improve acoustics.
Position the Microphone Correctly
Whether you're using the built-in microphone to record audio on iPhone or an external microphone, proper positioning is key. For iPhone recordings, ensure the microphone is facing the sound source directly.
Furthermore, if using an external microphone, experiment with placement to find the optimal position for capturing sound.
Adjust Recording Settings
Before recording, check and adjust the settings to record audio on iPhone. Certify that the input levels are set appropriately to prevent distortion or clipping. Many recording apps, including Voice Memos on iPhone, offer options to adjust recording quality or format.
Therefore, choose settings that prioritize higher bitrate and uncompressed formats for better fidelity.
Monitor Levels During Recording
Keep an eye on the audio levels displayed on your recording device. Aim for levels that are neither too low (which can result in weak audio) nor too high (which can cause distortion). Adjust the microphone distance or input levels as needed to maintain a consistent and clear recording.
Minimize Handling Noise
Handling noise, such as tapping on the iPhone or moving it around during recording, can be picked up by the microphone and degrade the quality of your audio. Use a stable surface or a microphone stand to minimize these disturbances. If using the iPhone handheld, hold it steady and avoid unnecessary movements to efficiently record audio on iPhone.
Edit and Enhance Post-Recording
Lastly, take advantage of editing tools to refine your audio after recording. Trim unnecessary sections, adjust volume levels, and apply filters or effects to enhance clarity. Many apps, including Voice Memos, offer basic editing features.
However, to get professional-level editing features, visit Recast Studio. It is an AI-based podcast editor that furnishes you with:
Audio Transcribe,
Sound Wave,
AI subtitle generator and more.
Therefore, record audio on iPhone and visit Recast studio to give it the professional touch.
Conclusion
In conclusion, it is not only convenient but also versatile to record audio on iPhone, allowing you to capture and share moments effortlessly. Whether you're a journalist, student, musician, or simply someone who loves to document important conversations, the Voice Memos app provides a powerful toolset.
By mastering the techniques outlined, from positioning your iPhone correctly to sharing your recordings and using recast for superior editing you can leverage your device to its fullest potential.
Remember, with a focus on optimal recording conditions and thoughtful editing, you can consistently record audio on iPhone that meets your professional or personal standards.
How to Record Audio on iPhone FAQs
How do I secretly record audio on my iPhone?
It is possible to record audio on iPhone secretly, but it's important to be aware of and adhere to local laws and regulations regarding privacy and recording consent. Here’s how you can record audio on iPhone secretly:
Use the Voice Memos App: Firstly, open the Voice Memos app.
Start Recording: Tap the red record button to record audio on iPhone.
Lock Your Screen: Press the side button to turn off the screen while recording continues in the background. Lastly, place your iPhone in a pocket with the microphone unobstructed.
How do I record just the audio?
To record audio on iPhone, the Voice Memos app is a straightforward and efficient tool. Here’s how to do it:
Open the Voice Memos App: Firstly, locate and launch the Voice Memos app from your home screen or by using the search function.
Start Recording: Secondly, tap the large red record button at the bottom of the screen to record audio on iPhone.
Stop Recording: Lastly, when you’ve finished, tap the red square button to stop the recording.
How do I use my iPhone as a recorder?
Using your iPhone as a recorder is easy with the Voice Memos app. Open the app from your home screen or search for it using the search bar. Hold your iPhone with the microphone directed towards the sound source. Tap the red record button to record audio on iPhone.
Latest articles
Ai Powered
Marketing Assistant for Your Podcast
A generative AI tool that automatically turns your podcast episode into short video clips & writes show notes, blog posts, social media posts and more in minutes.

