How to Record Audio on iPhone (2026): Best Methods and Pro Tips
Learn how to record audio on iPhone with better sound quality, cleaner files, and a simple workflow to turn recordings into publishable content.
Quick Answer
For better iPhone recordings, use a quiet environment, monitor distance to mic, and process the final clip with transcript and subtitle tooling before publishing.
What You Need Before You Start
- A clear content objective for the asset you are producing.
- One source file with acceptable audio quality.
- A distribution target (Shorts, Reels, LinkedIn, newsletter, or blog).
Step-by-Step Workflow
- Record in Voice Memos or your preferred capture app with airplane mode enabled.
- Keep mic distance consistent and avoid hard surfaces causing reflections.
- Trim and clean the recording in your edit stack.
- Generate transcript in Podcast Transcript Generator.
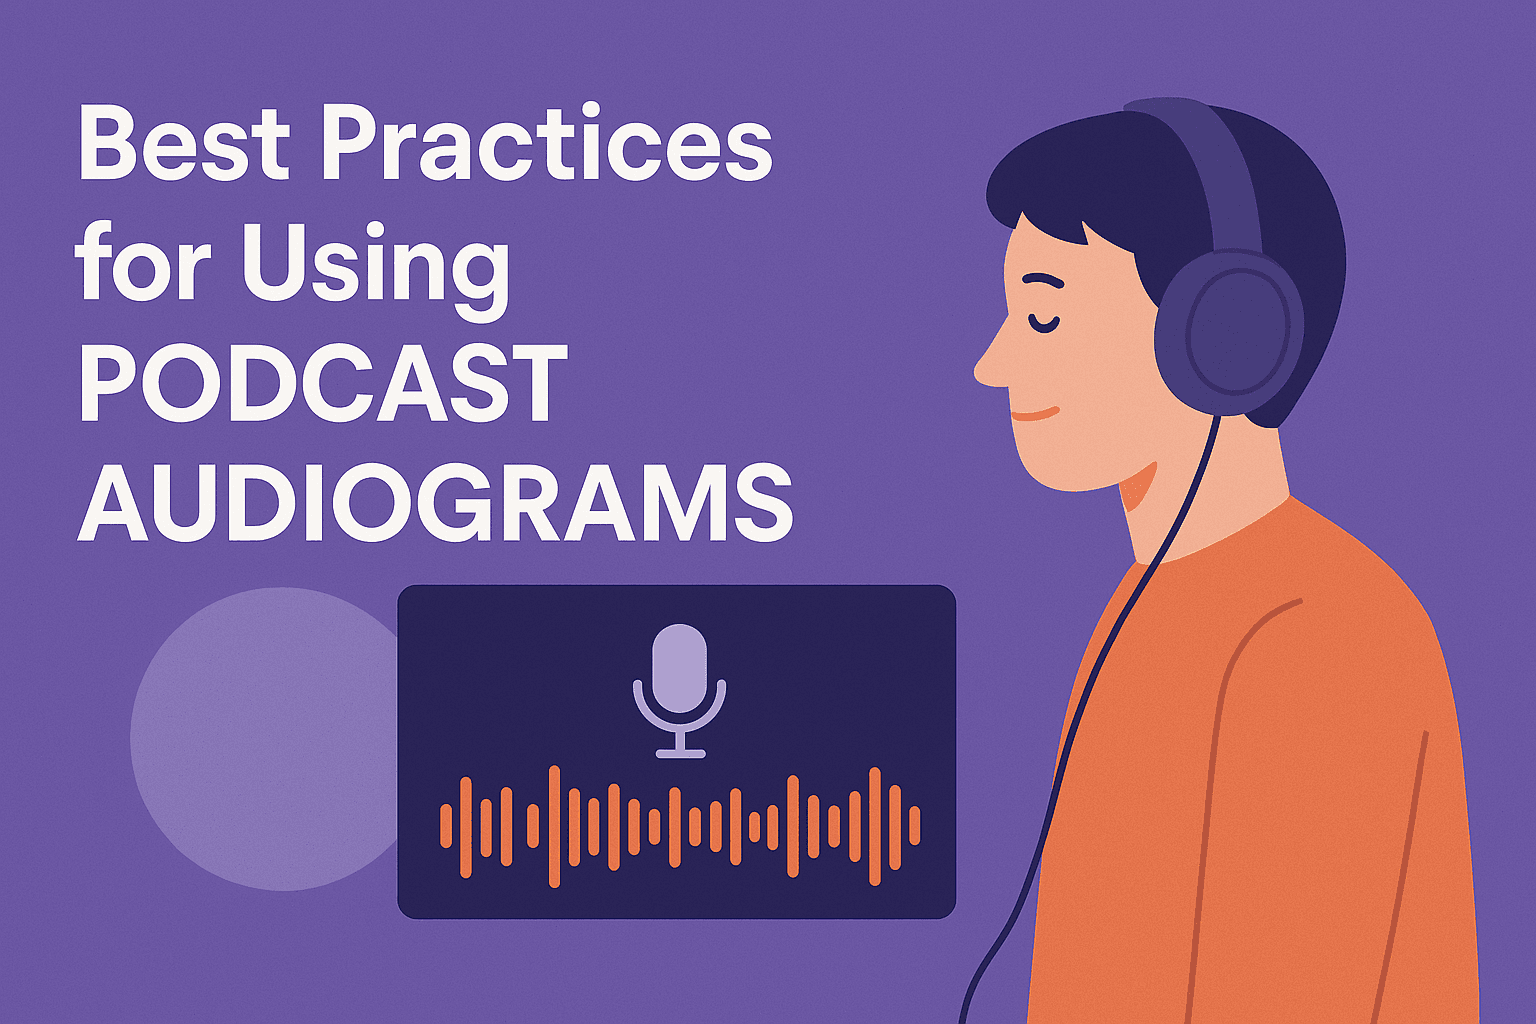
- Convert best moments into social assets with Podcast Audiogram Generator.
Quality Checklist Before Publishing
- Hook appears in the first 2-3 seconds.
- Subtitle readability is validated on mobile.
- Visual pacing matches spoken rhythm.
- CTA is clear and aligned to channel intent.
Build This Workflow in Recast
- Start with this workflow
- Pricing and plans
- Primary strategy guide
- Podcast Transcript Generator
- Podcast Audiogram Generator
- Podcast Clip Maker
Common Mistakes
- Recording in echo-heavy rooms.
- Holding phone too far from speaker.
- No gain staging and clipping checks before recording long sessions.
- Skipping transcript cleanup before publishing.
Measurement Plan
- Track completion rate and average view duration for short-form outputs.
- Track click-through to primary CTA links.
- Compare performance by format and hook style every week.
FAQ
How long should each short-form asset be?
Start in the 20-45 second range unless your channel data suggests longer.
Do I need perfect audio to start?
No, but clear narration and subtitle quality are essential for performance.
Should I publish one version or multiple?
Publish at least two hook variants for better learning speed.
What should I optimize first?
Optimize the first-frame hook and subtitle readability before anything else.
Next Step
Use this workflow once end-to-end, then convert it into a weekly operating cadence with clear owners and QA rules.