Starting a Podcast on YouTube: A Step-by-Step Guide for Beginners
How to create a podcast and start it on YouTube: plan, record, edit, turn audio into video, set it up in YouTube Studio and grow it. A beginner's guide.
When Ethan and Hila Klein launched the H3 Podcast on YouTube, they didn’t just upload audio. They created a video podcast built on visuals, humor and interviews. The show grew because YouTube lets you publish full episodes, organize them into playlists and let clips travel on their own. Today, H3 runs multiple channels, including one dedicated entirely to clips.
That is a good model for any new show. YouTube is both a video platform and a podcast app, so the same episode can reach people who want to watch and people who only want to listen.
Starting a podcast can feel overwhelming at first, but it breaks down into a clear set of steps. This guide covers how to create a podcast from scratch and launch it on YouTube: planning, formats, equipment, recording, editing, turning audio into video, setting up your show in YouTube Studio, and promoting each episode.
Why start a podcast on YouTube?
- Two audiences in one place. Podcasts on YouTube can also appear in YouTube Music, so you reach viewers and audio-only listeners.
- Recommendations. YouTube suggests videos based on what people watch and search, so a new show can be found without a big ad budget.
- Podcast features. YouTube has a dedicated podcast area and podcast-specific features for creators, described on its podcast creator page.
- Clips and Shorts. Short highlights from long episodes can be found by new viewers and send them back to the full conversation.
- Search. People search YouTube for topics, not just show names. A clear episode title can bring in listeners long after release.
Step 1: Plan your podcast
Good planning makes every later step easier.
- Pick a niche. Choose a topic you care about and know well enough to cover for many episodes. A narrow niche is easier to stand out in than a broad one.
- Define your audience. Think about who you are talking to, what they already know and what they want to learn. Ask potential listeners in communities or on social media what they would want from a show like yours.
- Set goals. Decide what the podcast is for: building a brand, driving traffic to a business, or earning sponsorship revenue. Your goal shapes your format, length and how you measure success.
- Name the show. Choose a name that is easy to say, spell and search. Check that it is not already taken on YouTube and in podcast apps.
Step 2: Choose a podcast format
Pick a format that suits your style and your topic.
-
Solo podcast. One host shares ideas, stories or expertise directly with the audience. It is the easiest to schedule and works well for teaching.
-
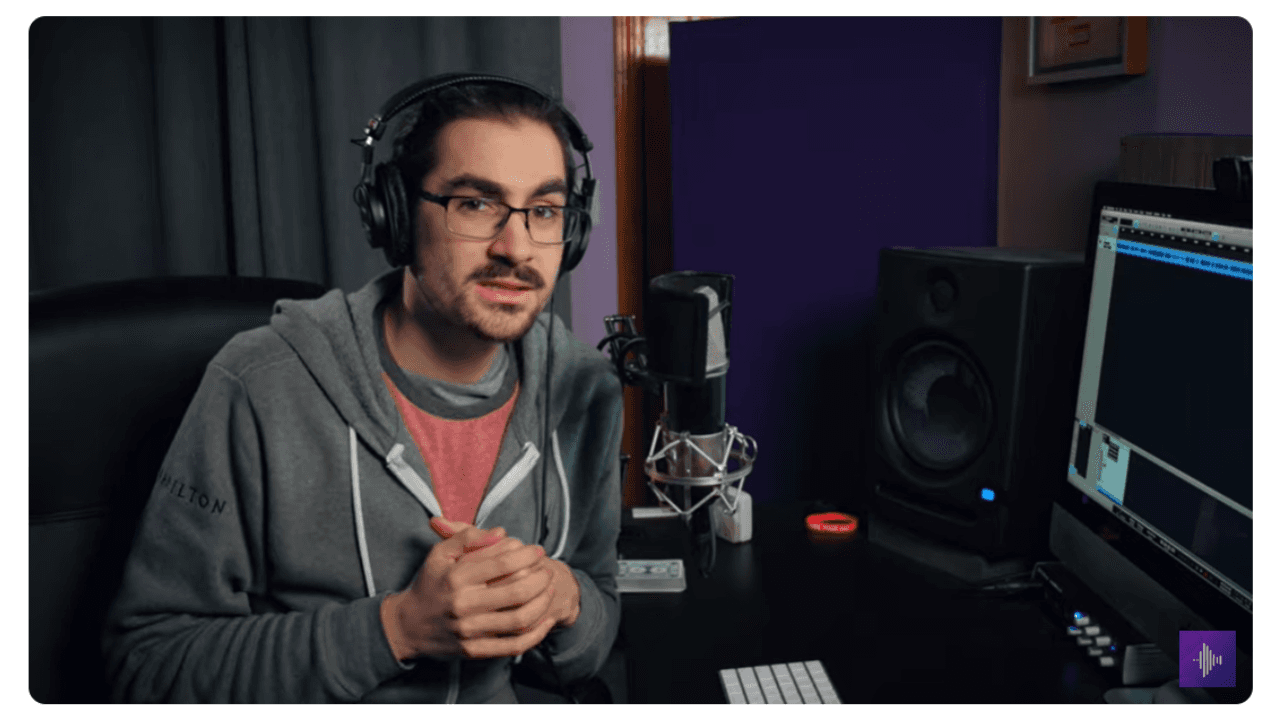
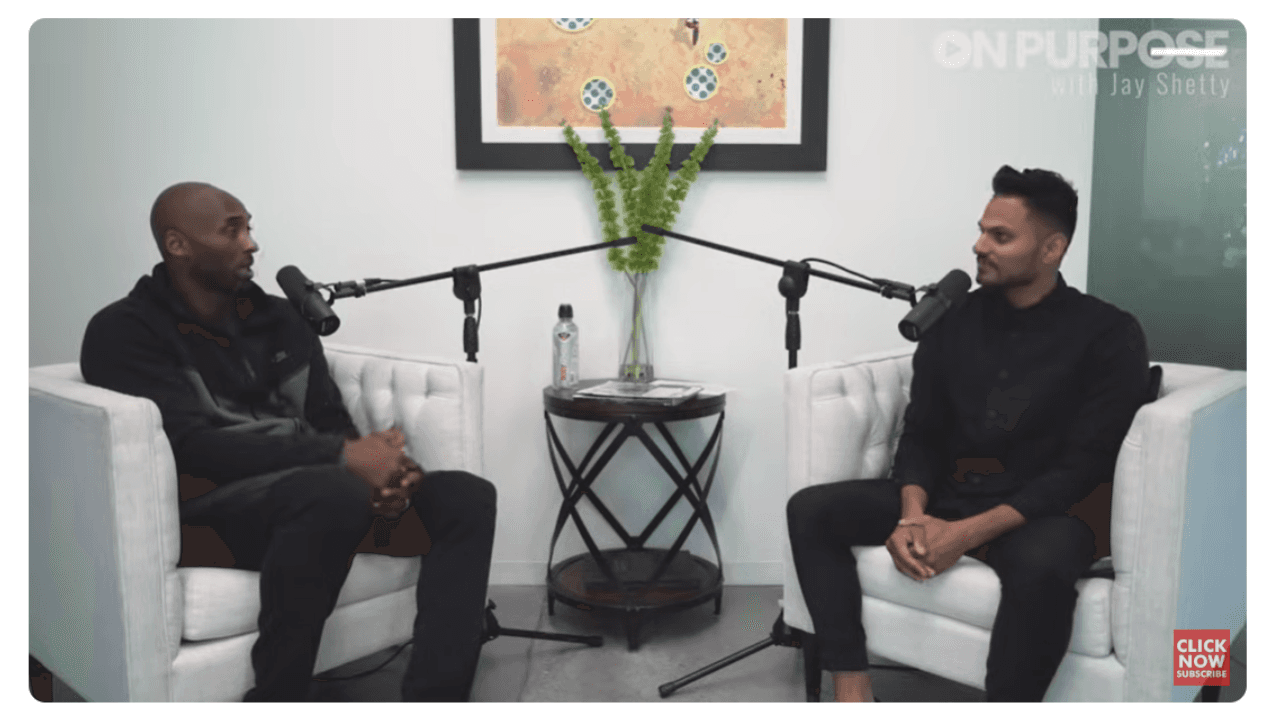
Interview podcast. A host talks with one or more guests. Guests bring expertise and often share the episode with their own audience.
-
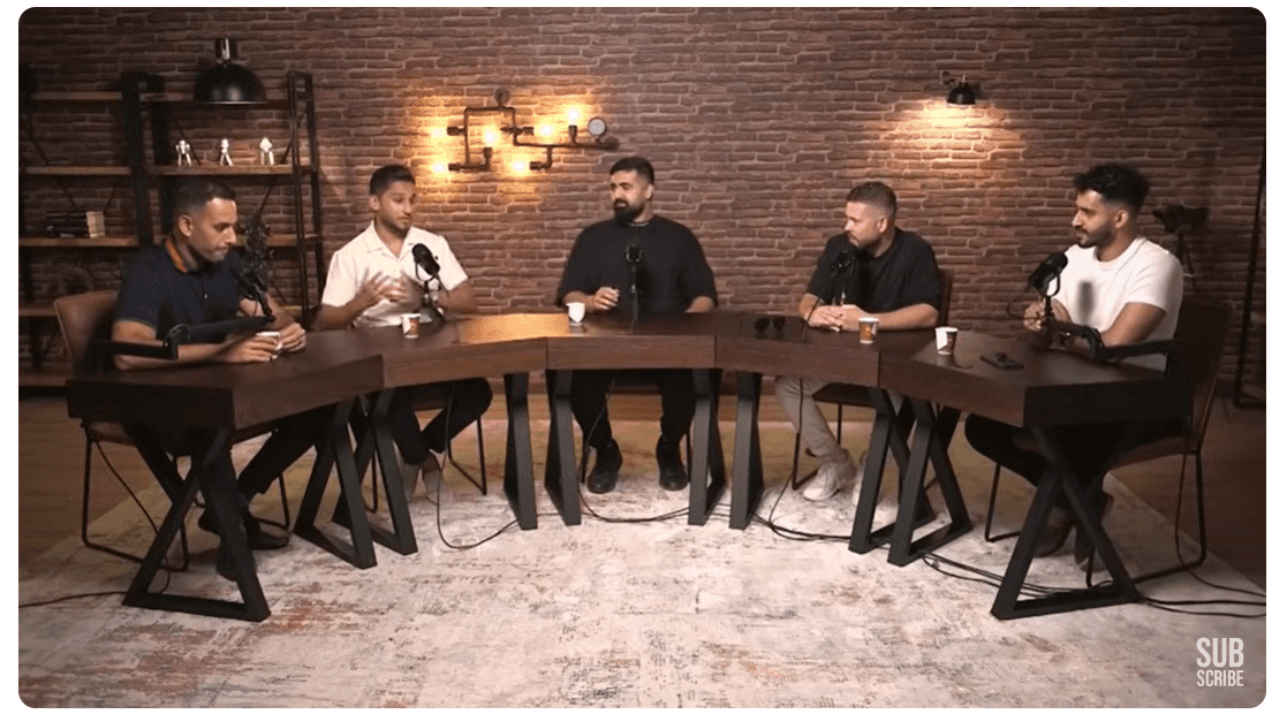
Roundtable podcast. Several regular hosts discuss a topic. Good for debate, news and multiple viewpoints.
-
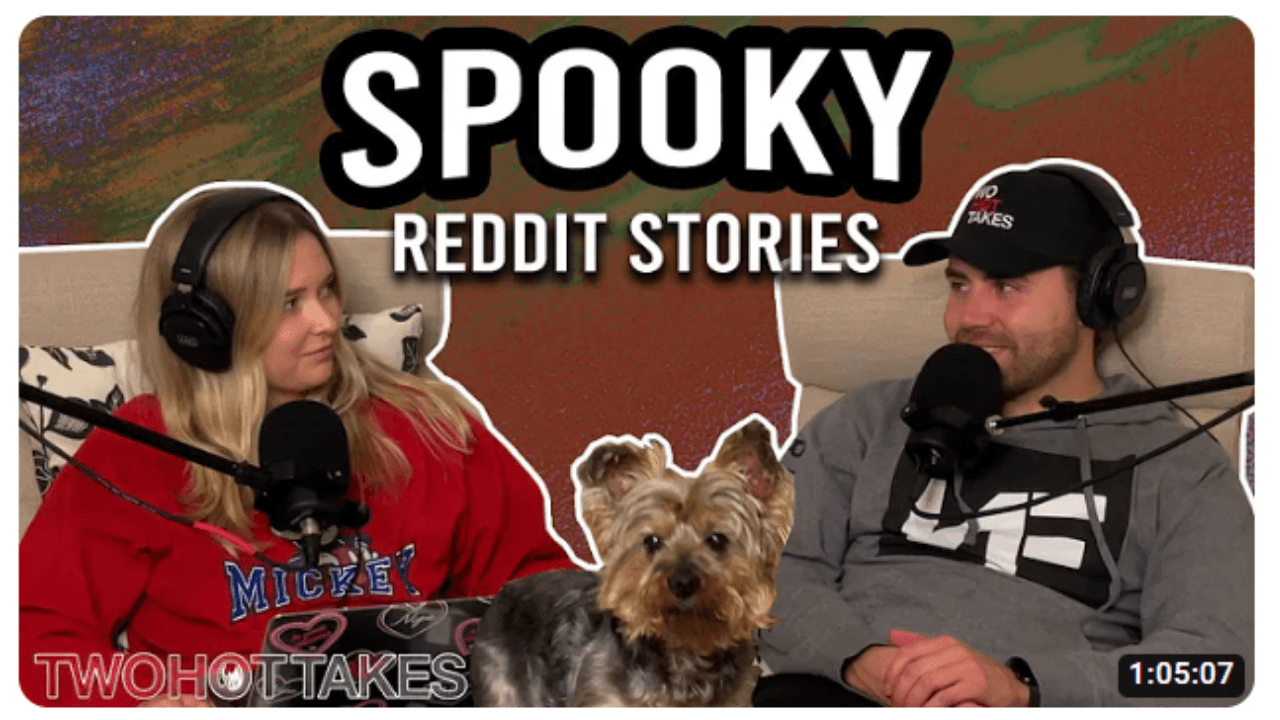
Storytelling podcast. The host narrates a true story, a historical event or fiction. It takes more preparation but can hold attention well.
Also decide whether you will film the show or publish audio with visuals. Both work on YouTube. Filming captures expressions and body language, which makes conversations easier to follow. Audio-only shows can still look good on YouTube when you convert them to video (see Step 6).
Step 3: Plan and script your episodes
- Build a content calendar. List episode topics for the next few months, based on your niche, audience questions and current trends. Recurring segments give each episode a familiar structure.
- Pick a release schedule. Weekly or every two weeks is common. Choose a pace you can keep up.
- Decide how much to script. A full script keeps you on point but can sound stiff. Improvising sounds natural but can drift. Most hosts use a detailed outline with key points and transitions. See how to write a podcast script for methods and examples.
- Plan a strong opening. The first minute decides whether viewers stay. Our guide to podcast intros has examples.
Step 4: Set up your equipment and recording space
You do not need an expensive studio to start.
- Microphone. Audio quality matters more than video quality. A USB microphone is the easiest start; XLR microphones with an audio interface give you more control as you grow.
- Camera. A recent smartphone or a good webcam is enough to begin. Mirrorless or DSLR cameras give sharper footage and better low-light performance later.
- Lighting. Face a window for daylight, or use a ring light or softbox to light your face evenly and reduce shadows.
- Headphones. Use them to monitor your audio, and ask remote guests to wear them to avoid echo and audio bleed.
- Room. Record in a quiet room. Rugs, curtains, bookshelves and acoustic panels reduce echo.
- Background. Keep it clean and on-brand: a bookshelf, a poster or your logo is enough.
Position the camera at eye level and the microphone close to your mouth. Do a short test recording before every session to check sound, framing and lighting.
Step 5: Record your episodes
For in-person shows, record audio and video locally with your camera and microphone. For remote guests, use a platform designed for podcast recording:
- Riverside records each participant locally on separate audio and video tracks, so an unstable connection does not ruin the recording.
- Zencastr is a browser-based recorder for remote interviews with audio and video.
- Zoom is familiar to most guests and easy to join, but its compression can reduce audio quality, so expect some cleanup.
For a longer comparison, see our guide to the best video and audio podcast recording software.
Recording tips:
- record each speaker on a separate track if you can
- watch levels to avoid clipping and distortion
- ask guests to silence phones and notifications
- record a backup audio track when possible
Step 6: Edit and turn audio episodes into video
Edit out long pauses, mistakes and tangents, balance the levels between speakers, and add an intro and outro. Our roundups of podcast editing software and audio editing software for Mac can help you pick a tool.
If you recorded audio only, do not upload it with a black screen. A plain still image gives viewers nothing to watch. Turn each episode into a video with Recast instead:
- Upload your episode to Recast’s Podcast to Video tool.
- Choose a template with an animated waveform, your cover art and your brand colors.
- Add captions. Captions make the episode accessible, help non-native speakers, and keep muted viewers watching. You can also use the Podcast Subtitle Generator on its own.
- Export a 16:9 version for the full episode on YouTube.
- Export short vertical clips of the best moments for Shorts, Instagram Reels and TikTok. The Podcast Audiogram Generator is useful for these teasers.
If you filmed the show, you can use the same captions and clip workflow to make your video episodes easier to watch and share.
Step 7: Set up your podcast in YouTube Studio
YouTube gives you a few ways to mark content as a podcast. Menus change, so look for these options in YouTube Studio:
- Create a new podcast. In YouTube Studio, use the Create button and choose the podcast option. Add your show title, a keyword-rich description and square cover art. YouTube creates a podcast playlist for your episodes.
- Set an existing playlist as a podcast. If you already have a playlist of full episodes, you can set it as a podcast instead of re-uploading anything.
- Import from RSS. If your audio show is already hosted elsewhere, YouTube can import episodes from your RSS feed where that feature is available. See how to create a podcast RSS feed for setup and submission.
Then brand your channel: add a channel banner and profile image that match your cover art, and add a channel trailer or a short welcome video for first-time visitors. For more on playlists, see how to manage and upload podcasts into a YouTube playlist.
Step 8: Publish and optimize each episode
- Title. Lead with the topic or the guest, not “Episode 12.” Our guide to naming podcast episodes has formulas.
- Description. Summarize the episode in the first two lines, then add links, guest details and resources. See how to write a great podcast description and our show notes templates. The Podcast Show Notes Generator can draft these from your recording.
- Timestamps. Add timestamps to the description so viewers can jump to sections.
- Thumbnail. Use a custom thumbnail with a clear face, large readable text and a single idea.
- Playlists. Organize episodes by season, theme or guest type so viewers keep watching.
Step 9: Promote your podcast with clips
Most people discover a podcast through a short clip before they commit to a full episode.
- Cut three to five clips per episode with the Podcast Clip Maker or the Podcast Shorts Generator.
- Post them as YouTube Shorts (check the right YouTube Shorts dimensions) and adapt them for Instagram, TikTok and LinkedIn.
- End each clip or caption with a clear call to action, such as “Watch the full conversation on our channel.”
- Collaborate with guests and other podcasters so they share episodes with their audiences.
- Reply to comments. Early engagement helps build a community around the show.
For a full launch plan, see our podcast launch and promotion strategy.
Step 10: Distribute beyond YouTube
Many listeners still use Apple Podcasts, Spotify and other podcast apps. To reach them, upload your audio to a podcast host, which creates an RSS feed you submit to those apps. Our guide on how to distribute a podcast on all platforms walks through the current directories.
Step 11: Track results and monetize
Use YouTube Analytics to see which episodes get watched, where viewers drop off and which clips bring in subscribers. Use that data to choose future topics, guests and episode length.
Once you have a steady audience, common ways to earn from a podcast include:
- sponsorships and host-read ads
- affiliate links for products you recommend
- merchandise
- memberships or premium episodes
- YouTube ad revenue once your channel qualifies for the YouTube Partner Program
Focus on consistency first. Revenue usually follows a loyal audience, not the other way around.
FAQ
How do I create a podcast as a beginner?
Pick a niche and format, plan your first few episodes, record with a decent microphone in a quiet room, edit the recording, and publish it on YouTube and through a podcast host. You can start with a smartphone, a USB microphone and free editing software.
Can I start a podcast on YouTube for free?
Yes. Creating a channel and setting up a podcast in YouTube Studio is free. You can record with a phone or webcam and edit with free software. Paid tools mainly save time or improve quality.
Do I need to film my podcast to put it on YouTube?
No. You can turn audio episodes into videos with waveforms, cover art and captions using a tool like Recast’s Podcast to Video converter.
Is a video podcast better than an audio podcast?
It depends on your content and audience. Video helps on YouTube and social media, where people want something to watch. Audio is easier to produce and fits listeners who multitask. Many shows publish both from the same recording.
Do I still need a podcast host if I publish on YouTube?
Only if you want to reach Apple Podcasts, Spotify and other podcast apps. They read your show from an RSS feed, which a podcast host creates for you.
Get started
Starting a podcast on YouTube comes down to a clear plan, decent audio, consistent publishing, and video that gives viewers something to watch. Record your first episode, then use Recast Studio to turn it into a captioned video and a set of clips that bring new viewers back to the full show.